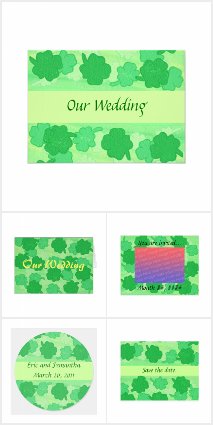

Are you looking for DIY wedding invitations that you can add your own design to? Here you will find a variety of options to choose from. You can choose from two sided invitations - with a choice of card stock and edge trim; greeting cards with a choice of size and semi gloss or matte, and postcards. Are you new to designing online? You'll also find designing tips below the various invitation options.
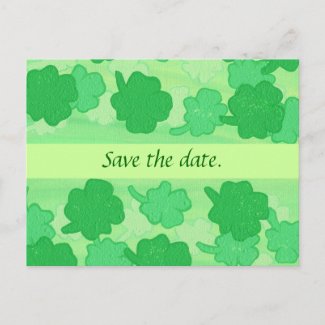
For the two sided invitations, you can choose from the square or rounded corner shape. The one pictured is the square corner. You can also choose from normal, rounded, bracket, scalloped, tag, and ticket for the edge. You can see the other edge designs by clicking on the link below, and then choosing the edge of your choice, that you'll find on the right hand side.
There is a choice of eleven finishes for a variety of looks, texture, and budgets. The Signature Semi-Gloss is the most economical finish. There are textured choices, shimmer choices, and also metallic. The thickness will vary depending upon which paper type you choose.
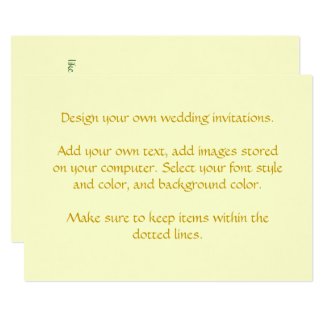
The yellow shown here is what I selected as a background color. Whichever side of the invitation that you are on, and Layers is selected, you can view the left hand side of the screen for the background box. Click on the background box and then look to the right of the screen for the color tools.
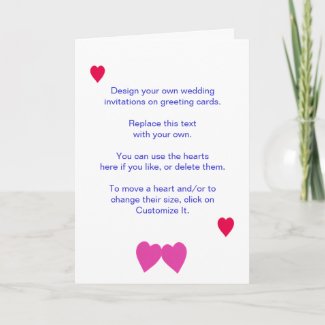
The greeting card style comes in a choice of two sizes: 4 x 5.6 or 5 x 7. It comes in a choice of matte or semi gloss for the finish. There are some pink and red hearts on this card that you can customize and move around, or delete. You can also adjust their size by customizing.
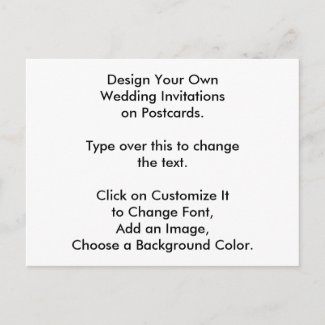
The postcards are the most economical. They have a choice for gloss or a matte finish; they measure 4.25" x 5.6".
With all three options, you can make personalized design changes. You can choose a different font style and/or color, choose a background color, and/or add your own image(s). To make any of these changes, click on the card option of your choice. If there is an option to Personalize this template, then click on that first to change the item or delete it. From there, you will be given the option to customize it further. If there isn't an option of Personalize this template, then click on Customize.
Once you are on the Customize page, you can do your designing.
First you will choose an Option on the left hand side of the screen.
Layers is the first option. Here is where you choose the front of the card, back, etc. If there is a Design Placement option, that is to choose between vertical or horizontal for the card orientation.
From Layers, you can also choose the background color, if it is applicable. If your design takes up the hold field, then there is no background area to fill in with color. Once you pick an item from this left hand column, you will follow the prompt, if there is one, or move over to the right hand side of the screen to complete the action, i.e. to select the color.
Uploads is where you can upload an image that you have stored on your computer. Once you have uploaded an image, you can reposition it, and or adjust its size. You can adjust the size by clicking on the - or + sign on the right hand side of the screen; or you can click on a corner of the image and drag it out or in.
Icons are extra embellishments provided by Zazzle, that you can choose from to enhance your design. There are a variety of categories to choose from.
Text is the next box on the left. Click on this box to add text. A text box window will appear on the upper left. Click in that box, and the box will jump to over the designing field. Type in your text. If you are satisfied with it, click Okay, or Cancel to not add it. Once you click Okay, the text that you typed will appear in your design field. Here you can click on it to drag it, and also to resize it. You can also resize it by looking over on the right hand side of the screen to find the box with the number and arrows on it to adjust the font size. There will be a color box on this side of the screen to change the font color. At the top of the right hand side of the screen, while you are on the Text box, you can click on Edit Text, and you can also Select the Font. Different fonts are different sizes. It is best to choose your Font Style first and then do your sizing.
The Trash Can Symbol shows up on the box that goes around the item you have clicked on in your design field. Clicking on the trash can will delete the item, whether it is text or a picture.
Shapes is the last category on the left. You can add shapes to your design and also resize them and position them. You can change the outline color of your shape, and if it has an inner area, you can change the color of the inside area.
Happy creating.
Cheryl Paton
Cheryl Paton earns income from qualifying purchases made through the links on this page.